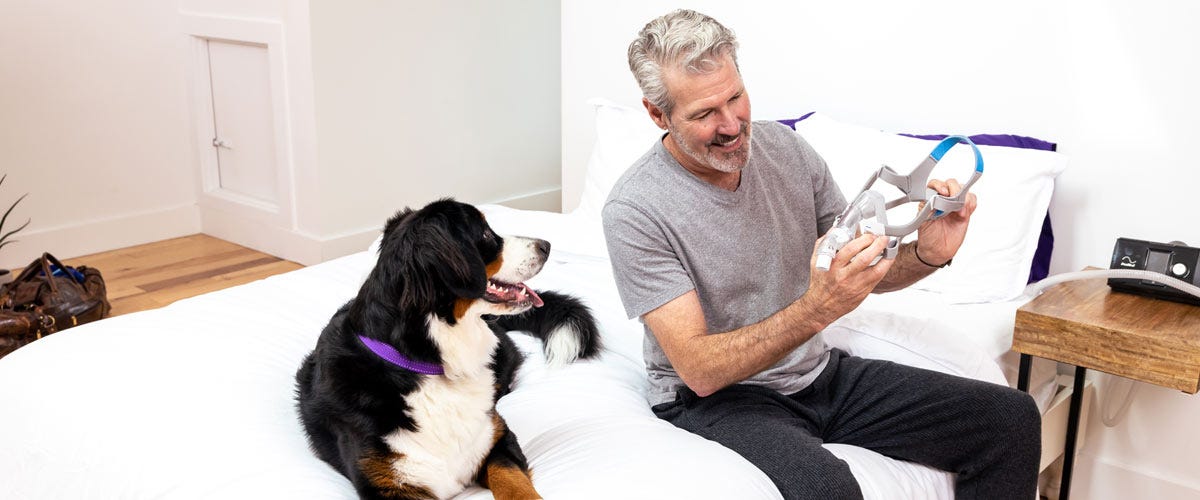


Now that you have your ResMed AirFit F30 Full Face Mask you probably can’t wait to try it on! You may have to face a little mask assembly first. Don’t worry, with the simple design of this mask, you’ll have it on in a snap.
Let's Get Started!
1. Remove every component from its packaging and expect them for any damage. Then twist the magnetic clips and pull them away from the bottom of the frame.
2. Take the frame, which is still attached the headgear at the top, and place the cushion under your nose.
Make sure it sits comfortably on your face and the make sure the ResMed logo is facing up on the upper headgear and pull it over your head. Next, pull the lower headgear straps under your ears and reattach the magnetic clips to the frame.
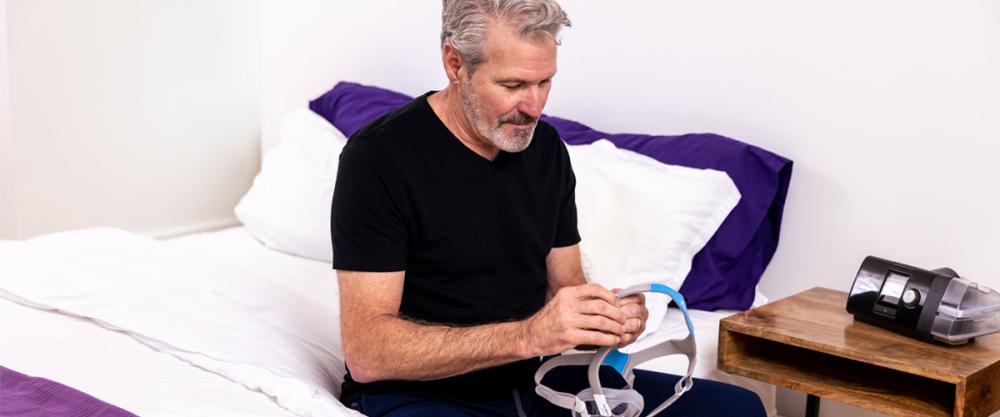
3. Undo the fasteners at the top of the frame and pull them outwards to tighten your headgear. Do the same thing to tighten the straps at the bottom of the frame.
If the straps are too close to the frame pull the strap at the top of the head upwards to adjust it.
4. Take the end of your CPAP tubing and connect it to the mask elbow and connect the elbow to the frame, with a click.
And voila, your mask is on and assembled! Feel free to do your best Darth Vader impression, read, or go straight to sleep!
But we do have a few comfort tips. Turn your CPAP on and make sure the cushion is comfortable under your nose. Also, make sure it’s not creased and the headgear isn’t twisted.
To fix any air leaks with the mask, adjust the headgear straps to provide a tighter seal, but don’t overtighten it. The seal should be comfortable and not cause any pain or pressure.
Alright, if you’re feeling claustrophobic and you’re not ready for bed, remove your mask by removing the lower straps by twisting the magnetic clips and pulling them away from the frame.
Lastly, lift the headgear over your head while pulling the frame away from your face! Boom, you’re free.
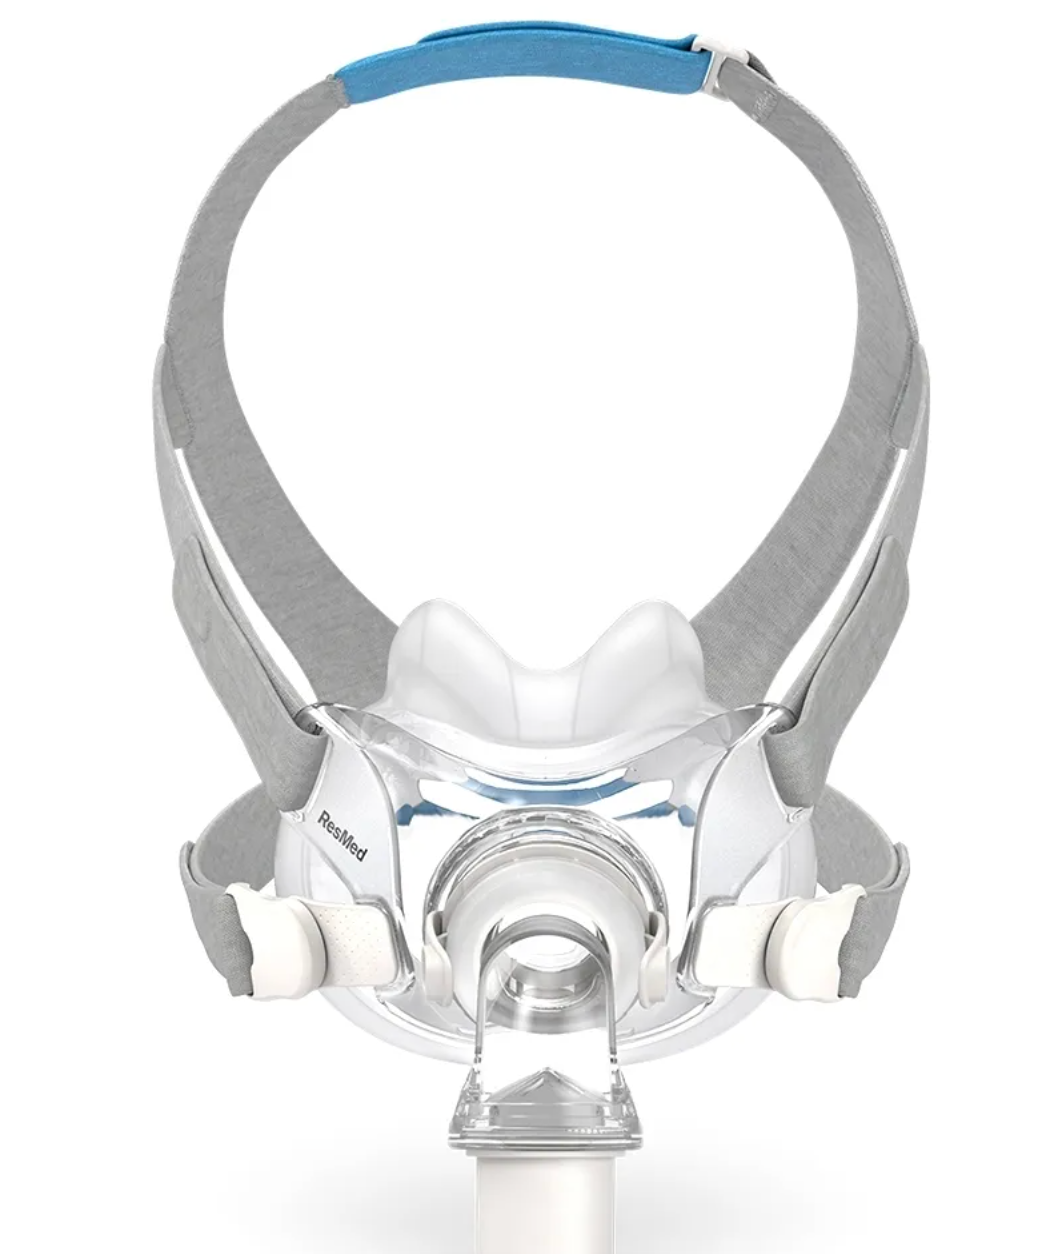
AirFit F30 Full Face Mask by ResMed
The first thing you’ll notice about the AirFit F30 full face CPAP mask is that it’s much smaller than you’d expect from a full face mask. Yet studies by ResMed showed that the AirFit F30 stayed secure all night for all participants!