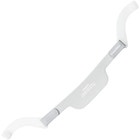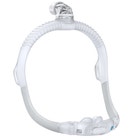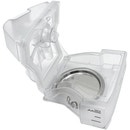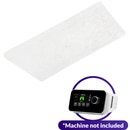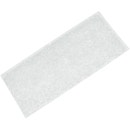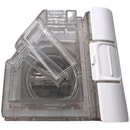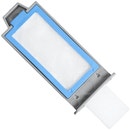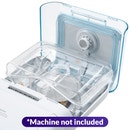


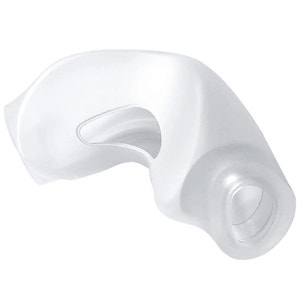
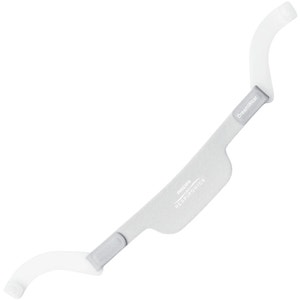
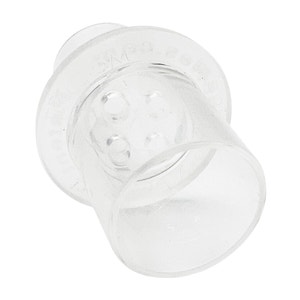
Philips Respironics DreamWear CPAP Mask Frame

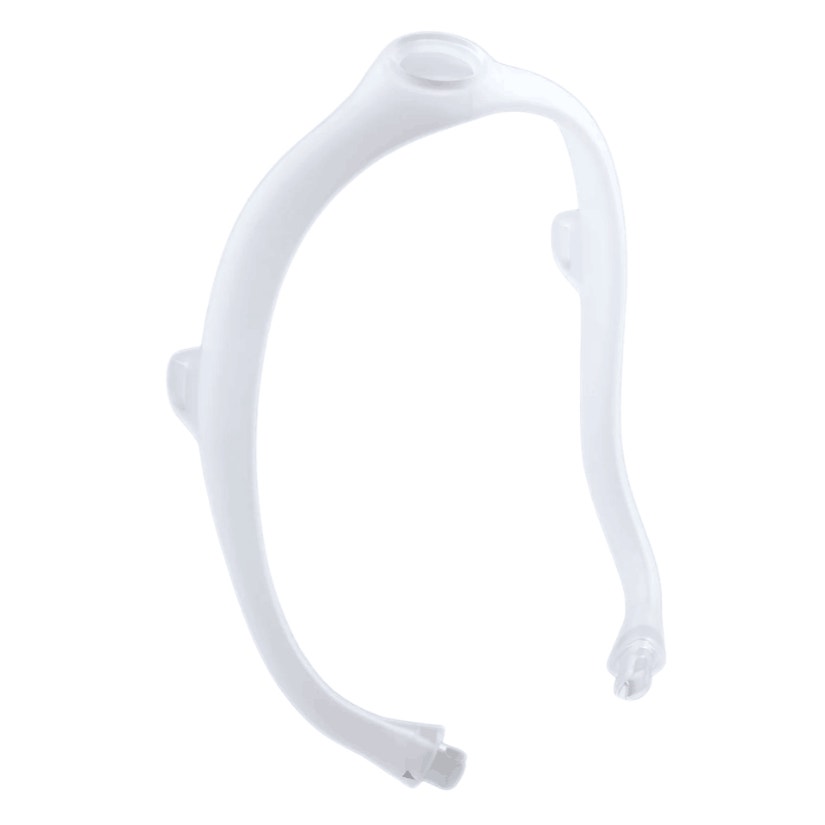

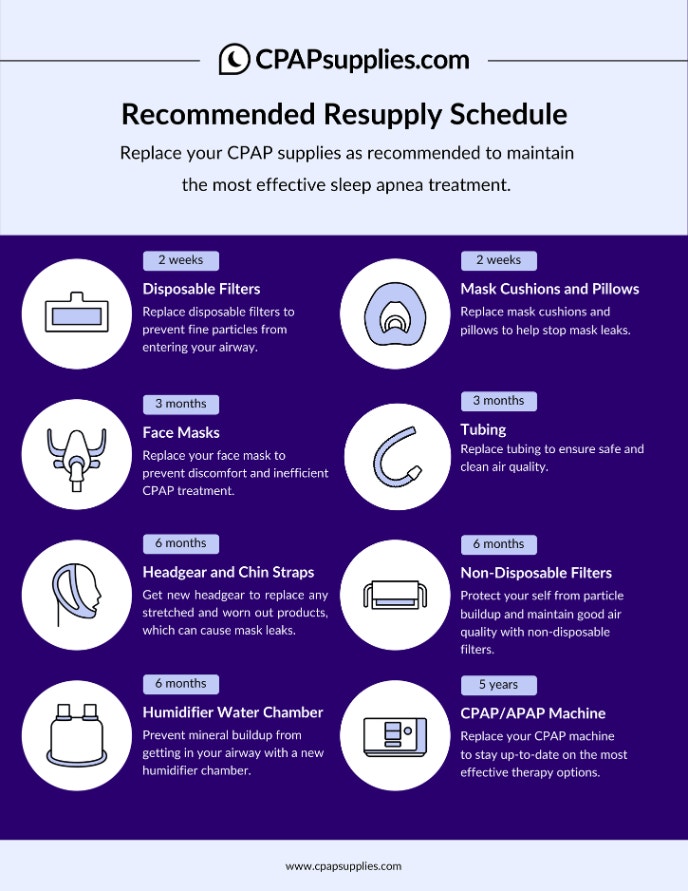
Designed to feel like you're not wearing a mask, DreamWear's innovative design directs airflow through the frame so you can sleep comfortably with more freedom of movement. The minimal contact and over the head tubing port allow for less disruption during treatment.


Philips Respironics DreamWear CPAP Mask Frame Overview
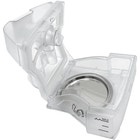
This is the replacement frame for the any of the Respironics DreamWear Masks.
-
1 — DreamWear Mask Frame (of selected size)
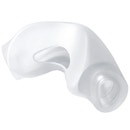
Please note: headgear, cushions, swivel connector elbow, and tubing quick release are not included in this order. Only the frame is included.
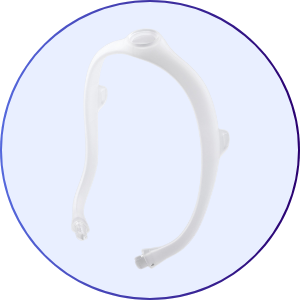
CPAPsupplies.com: CPAP Supplies Replacement Schedule
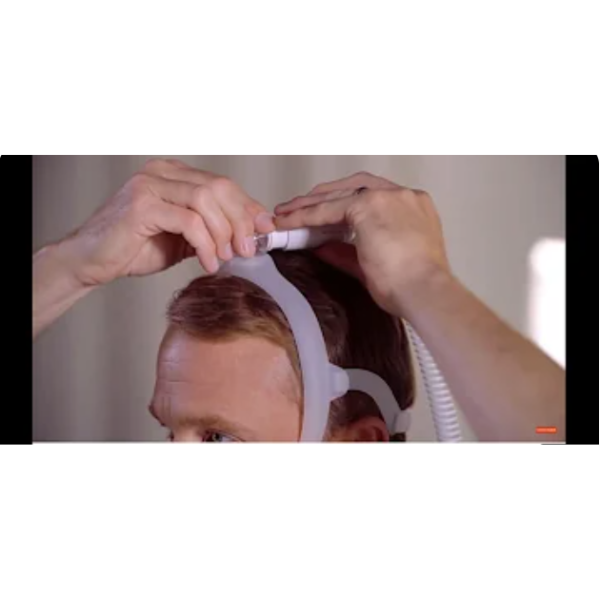
DreamWear Nasal: Wearing and Adjusting Guide
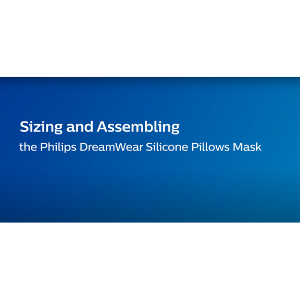
DreamWear Nasal: Sizing and Assembly Guide
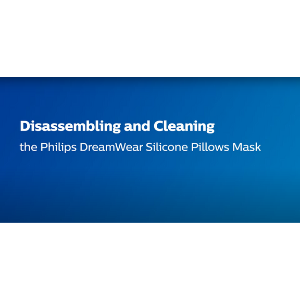
DreamWear Nasal: Disassembly and Cleaning Guide
- CPAP Mask Frame Replacement Frequency: Resupply Every 3 Months
CPAPsupplies.com: CPAP Supplies Replacement Schedule

Cleaning Guide
Regularly cleaning your CPAP mask parts and components is crucial for avoiding the accumulation of bacteria, debris, oils, and other contaminants. This will help prevent the buildup of germs that may cause skin irritation and other unwanted side effects.
Before following the instructions below, first make sure your CPAP machine is unplugged from the power source, disconnect your mask and air tubing from your CPAP machine, and disassemble your mask components into 3 parts (nasal pillows, headgear, and frame):
| Part | Cleaning Frequency | Instructions |
|
Mask Frame |
Weekly |
|
*Avoid using strong detergents or soaps, especially those that contain harsh chemicals, perfumes, dyes, moisturizers, or alcohol.
You can find more useful information regarding CPAP cleaning with this blog:


| Brand | Philips Respironics |
|---|---|
| SKU | p_DWframe |
| Model | p_DWframe |
| HCPCS | A9999 |
| UPC | 00606959402041, 00606959402058, 00606959402065 |
| Prescription Required | No |
| Weight | 0.10 lbs |
| Manufacturer's Warranty | 30-day limited manufacturer's warranty |
| Color | White |
| FSA/HSA Eligible | Yes |
| Included | 1116745, 1116746, 1116747 |