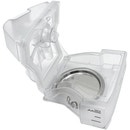


Philips Respironics Wisp Clear Silicone Nasal CPAP Mask without Headgear Starter Pack

The Wisp Clear Silicone Nasal mask frame by Philips Respironics provides a comfortable and lightweight CPAP treatment experience.


Philips Respironics Wisp Clear Silicone Nasal CPAP Mask without Headgear Starter Pack Overview
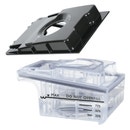
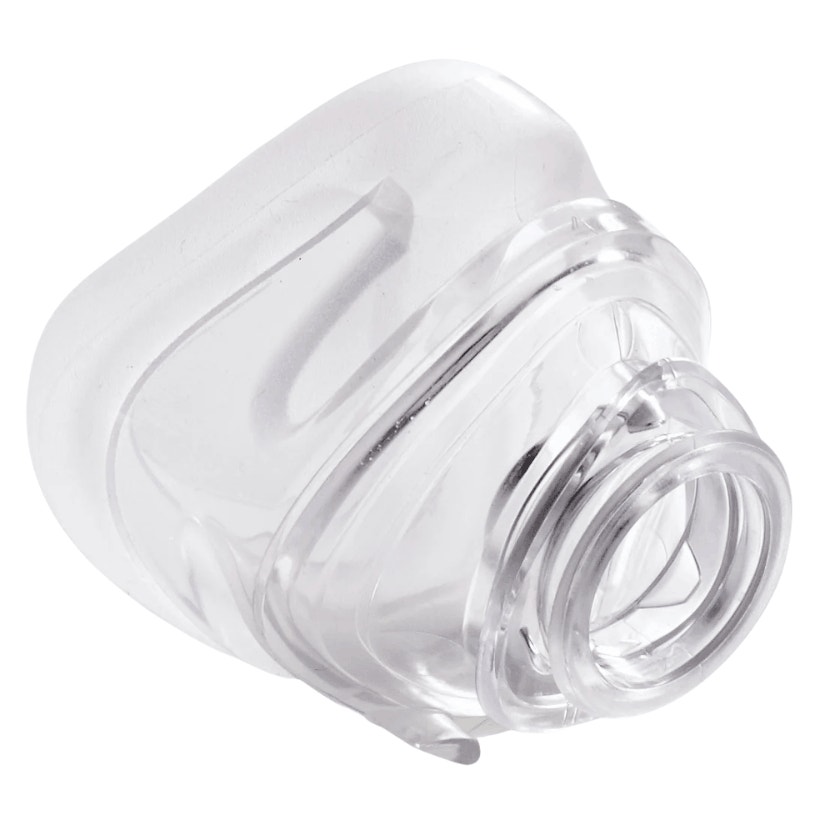
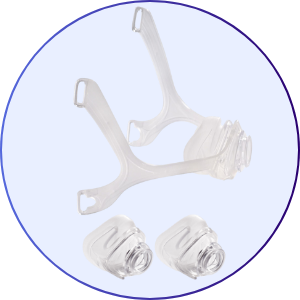
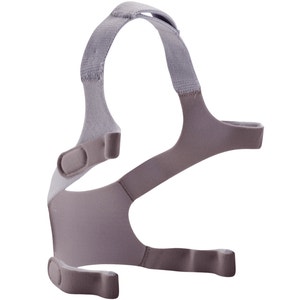
The Philips Respironics Wisp Clear Silicone Nasal CPAP Mask Frame includes the mask frame and cushion combo. Headgear is not included but can be purchased separately.
-
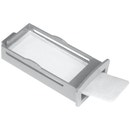
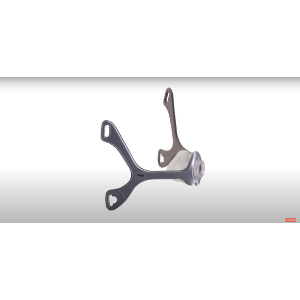
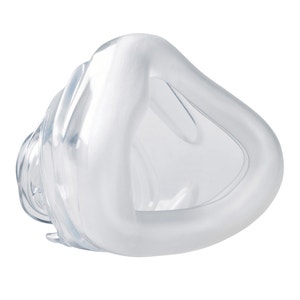
1 — Wisp Clear Silicone Nasal Mask Frame - without Headgear (1094055)
-
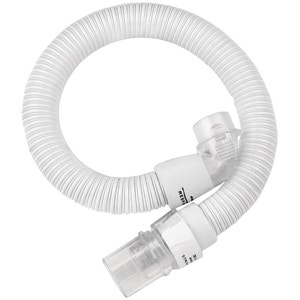
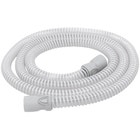
1 — Elbow
-
1 — Swivel
-
3 — Wisp Nasal Mask Cushions (1- Small/Medium, 1 - Large, 1 - Extra Large)
Breathing Style:
-
Nasal Breathers
- Mouth Breathers (when paired with a CPAP mask chinstrap)
Sleeping Style:
-
Back Sleepers
-
Side Sleepers
-
Active Sleepers
Additional Considerations:
-
High Pressure Settings
- Glasses Wearers
- Claustrophobia
- Facial Hair
-
Full Field of View for Reading or Watching TV Before Bed
-
Tossing and Turning During Sleep
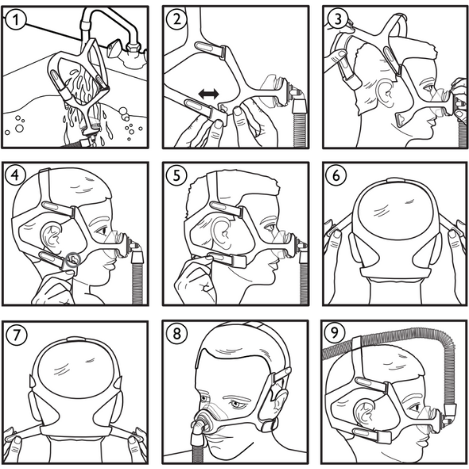
Fitting Your Mask:
Remove all packaging before using the mask.
Refer to the fitting images of these instructions.
- Disconnect one, or both. Peel the headgear tabs away from the headgear strap and pull through slot in the mask frame or if using the clip twist outward.
- Pull headgear on over head.
- Place cushion over nose.
- Thread tab through slot in mask frame or press clip against the headgear slot to reattach.
- Peel the headgear tabs away from the headgear straps then press tabs against the headgear straps to reattach.
- Connect the side straps to the headgear tab located at the base of the crown strap.
- Connect the bottom strap tabs near the back of the headgear. - Adjust side straps evenly.
- Adjust bottom straps evenly.
- The mask should rest comfortably against your face.
Note: Do not overtighten the headgear.
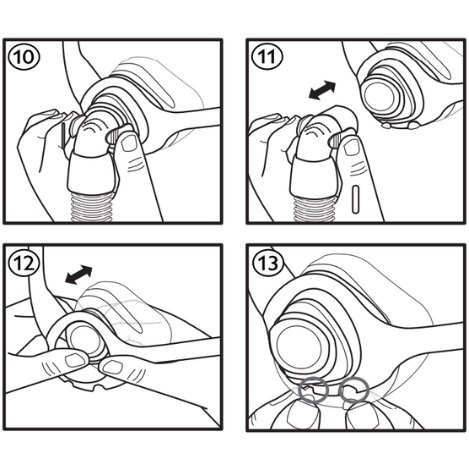
Disassembling Your Mask:
Refer to the disassembly diagrams in these instructions.
- Squeeze the Quick Release Tabs.
- Pull the elbow away from the cushion.
- Push the cushion backwards through the frame.
- Detach the headgear bottom clips from the frame or undo the bottom tabs and pull.
- Undo the headgear top tabs and pull the straps through the frame.
- Push the cushion into the frame towards the front and press into place.
- The bottom of the cushion will match the alignment cutouts of mask frame.
- Push the elbow into the cushion until the Quick Release Tabs click into place.
- Hold the crown strap upward.
- Make sure the wide strap marked with "Philips Respironics" is outward.
- Slide the headgear tabs into the longer frame arm slots.
- Connect the headgear clips to the frame or slide the tabs into the shorter frame arm slots if not using the headgear clips.
| Operating Therapy Pressure Range |
| 4 to 30 cmH²O |
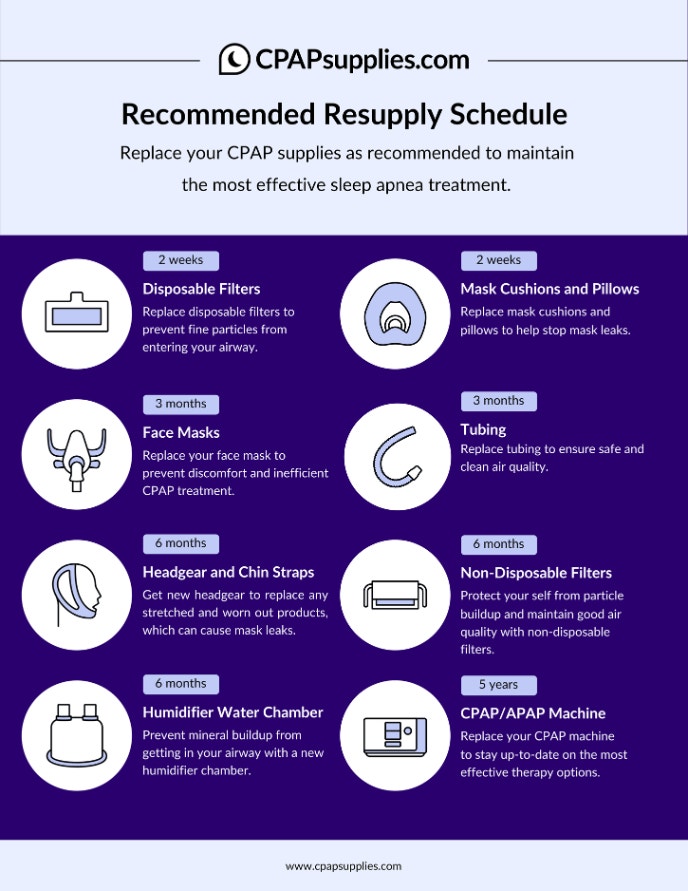
CPAPsupplies.com: CPAP Supplies Replacement Schedule

Wisp: Introduction
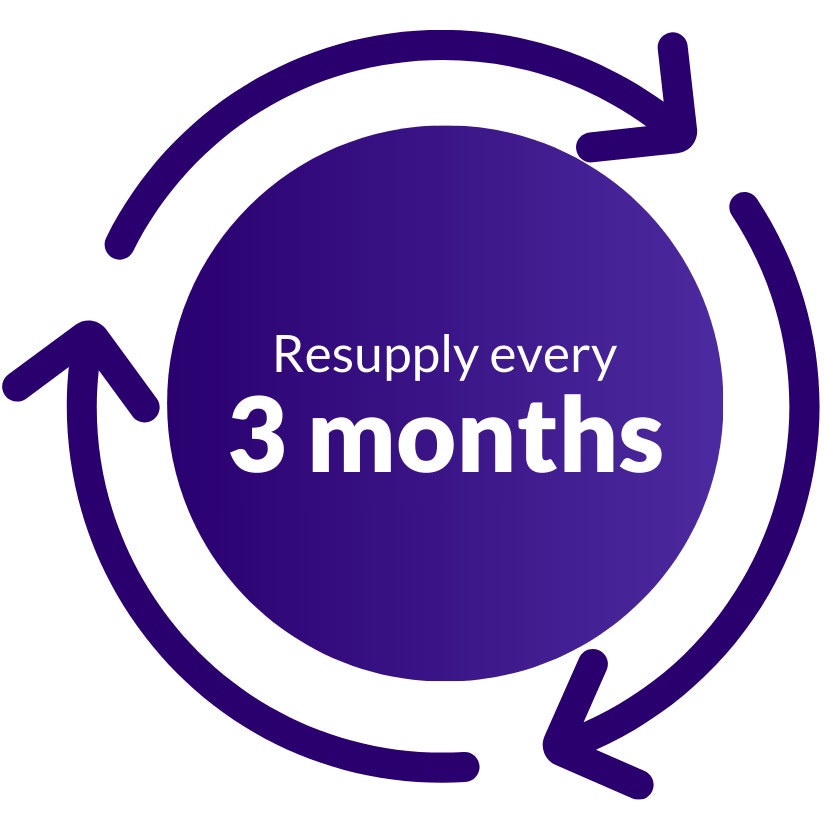
- CPAP Mask Frame Replacement Frequency: Resupply Every 3 Months
- CPAP Mask Cushions/Pillows Replacement Frequency: Resupply Every 2 Weeks
CPAPsupplies.com: CPAP Supplies Replacement Schedule

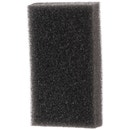
Cleaning Guide
Regularly cleaning your CPAP mask parts and components is crucial for avoiding the accumulation of bacteria, debris, oils, and other contaminants. This will help prevent the buildup of germs that may cause skin irritation and other unwanted side effects.
Before following the instructions below, first make sure your CPAP machine is unplugged from the power source, disconnect your mask and air tubing from your CPAP machine, and disassemble your mask components into 3 parts (nasal cushions, headgear, and frame):
| Part | Cleaning Frequency | Instructions |
|
Nasal Cushions |
Daily |
|
|
Mask Frame |
Weekly |
|
*Avoid using strong detergents or soaps, especially those that contain harsh chemicals, perfumes, dyes, moisturizers, or alcohol.
You can find more useful information regarding CPAP cleaning with this blog:


| Brand | Philips Respironics |
|---|---|
| SKU | 11125 |
| Model | 1094055 |
| HCPCS | A7034 |
| UPC | 702754043455 |
| Prescription Required | No |
| Weight | 0.60 lbs |
| Manufacturer's Warranty | 30-day limited manufacturer's warranty |
| Color | Clear |
| FSA/HSA Eligible | Yes |
| Dimensions | Mask Frame: 3.8" x 3.6" x 1.5"; Cushions: Petite - 2" (L) x 2" (W) x 2" (H), Small/Medium - 2" (L) x 2 1/4" (W) x 2 1/4" (H), Large - 2 1/4" (L) x 2 1/2" (W) x 2 1/2" (H) |

1 Item Added to Cart