My Cart


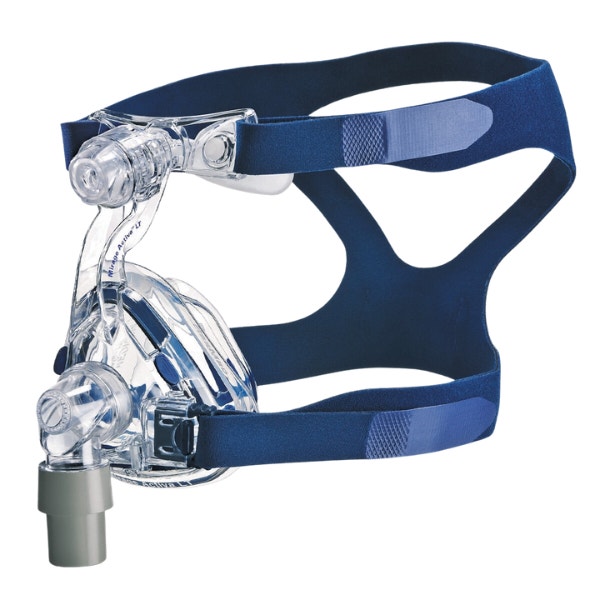
Resmed Mirage Activa™ LT Nasal CPAP Mask with Headgear

$105.00
The Mirage Activa™ LT nasal mask is designed to accommodate every patient and ensure a comfortable, hassle-free night. This design is intended to address difficulty with "first time" fittings and also helps prevent the need to over-tighten headgear.
Mask Satisfaction Guarantee

Get free shipping on this mask

Resmed Mirage Activa™ LT Nasal CPAP Mask with Headgear Overview
The Resmed Mirage Activa™ LT Nasal CPAP Mask is an excellent solution for active sleepers. It is compatible with the Mirage Activa™ LT Nasal Mask System. This nasal mask frame utilizes ActiveCell™ technology to automatically adjust to movements during sleep. This technology reduces the amount of air leaks that are usually common for active sleepers. This mask is light and quiet making it a great sleep apnea treatment option.
-
ActiveCell™ technology automatically adjusts to sleeping movements and accommodates for therapy pressure changes to create a continuous seal throughout the night
-
User-friendly design makes fitting and removing air tubing easy and convenient
-
The small size of the mask is less obstructive than others and can fit a variety of users
-
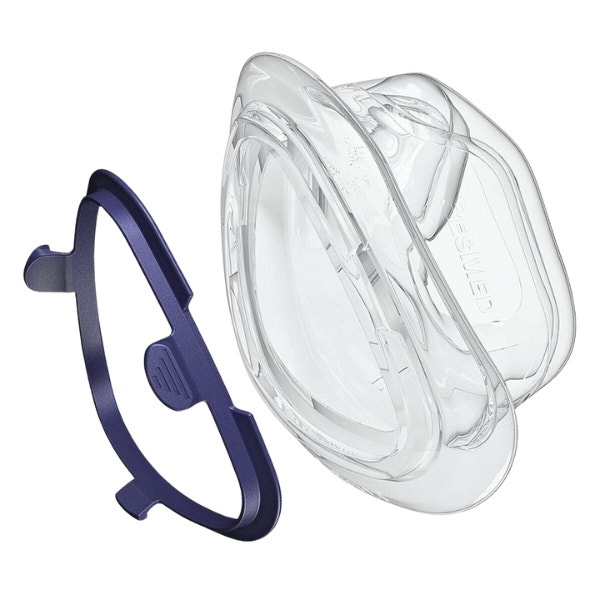
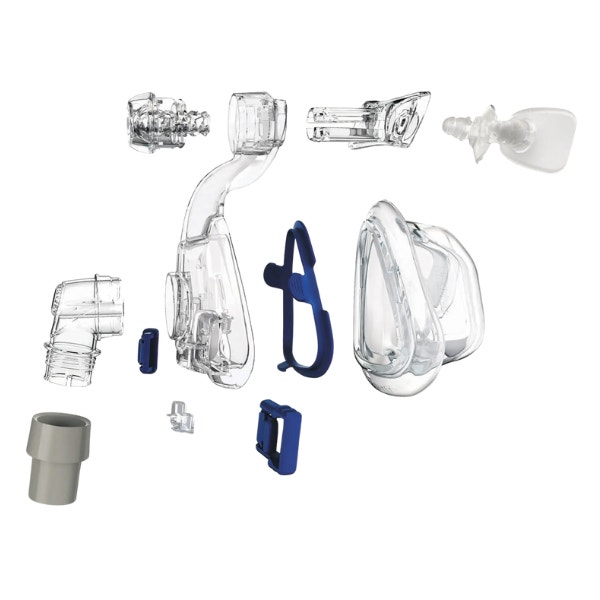
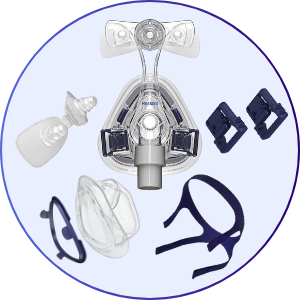
1 — Mirage Activa™ LT Mask Frame and Cushion (of selected size option)
-
1 — Mask Dial
-
1 — Forehead Support & Pad
-
1 — Swivel
-
1 — Elbow
-
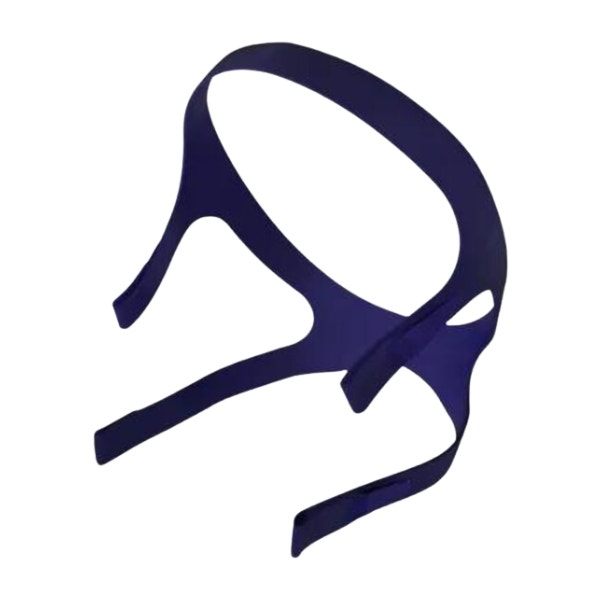
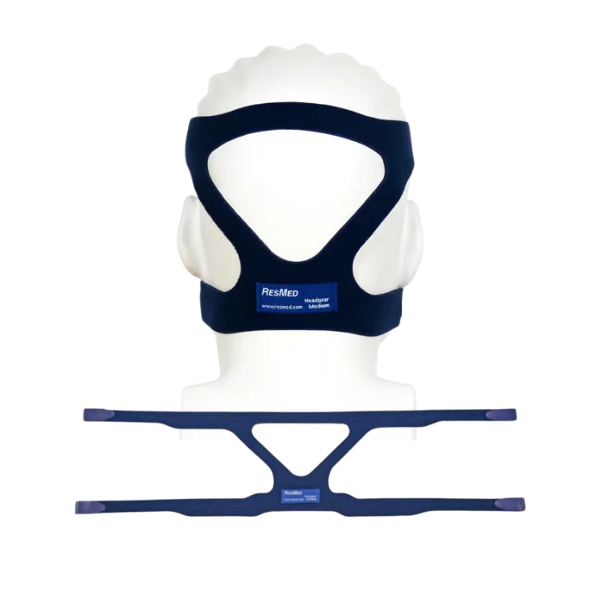
1 — Mirage Activa™ LT Headgear
-
2 — Headgear Clips
If you're looking to purchase the Resmed Mirage Activa™ LT Nasal CPAP Mask components without a prescription, you can find them here.
-
Small: Small Frame, Small Cushion - 60182
-
Medium: Standard Frame, Medium Cushion - 60148
-
Large: Standard Frame, Large Cushion - 60149
-
Large Wide: Standard Frame, Large Wide Cushion - 60150
Breathing Style:
-
Nasal Breathers
- Mouth Breathers (when paired with a CPAP mask chinstrap)
Sleeping Style:
-
Back Sleepers
-
Side Sleepers
-
Active Sleepers
Additional Considerations:
-
High Pressure Settings
- Glasses Wearers
- Claustrophobia
- Facial Hair
-
Full Field of View for Reading or Watching TV Before Bed
-
Tossing and Turning During Sleep
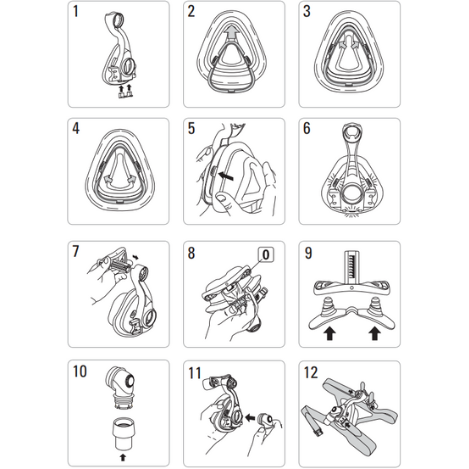
Assembling Your Mask:
Refer to the assembly diagrams in these instructions.
- Attach the forehead pads to the forehead support. To do this, place the forehead pad plugs into the two round holes of the forehead support. Then push firmly behind the base of the forehead pad plugs until the tip of the plug is securely seated over the hole. The base of the forehead pad plug should be flush against the forehead support.
- Reconnect the forehead support to the mask frame. Depress the tab and move the forehead support into one of the four slot positions.
- Fit the cushion clip into the groove of the mask cushion. Ensure the cut outs under the cushion clip latches are aligned with the blocks in the groove of the mask cushion.
- Fit the top section first, then work your way around, inserting the cushion clip into the mask cushion. Ensure that the cushion clip does not pinch any part of the mask cushion. The cushion clip should fit snugly inside the groove of the mask cushion.
- Attach the cushion assembly to the mask frame. To do this, align the two side latches on the cushion clip to the top two holes on the mask frame. Then push the cushion assembly onto the mask frame firmly until the latches click into place. Ensure the bottom latch is also secure.
- Push the ports cap onto the mask ports.
- Attach the vent cover to the mask elbow. To do this, slide the vent cover along the elbow until the tops of the vent cover and the ridge of the vent opening are aligned. Then push the vent holes in and slide the vent cover upover the ridge of the vent opening. Ensure that the lip of the vent cover is securely seated over the ridge of the vent opening. It should form a perfect circle around the ridge of the vent opening and not be distorted.
- Connect the short air tubing to the mask elbow.
- Connect the headgear clips to the mask frame.
- Thread the upper straps of the headgear through the slots on the forehead support and fasten the Velcro straps. The headgear label should face outwards and be near your neck when fitted.
- Connect the swivel to the main air tubing ready for next use.
- When ready for use, connect the mask elbow to the mask frame.
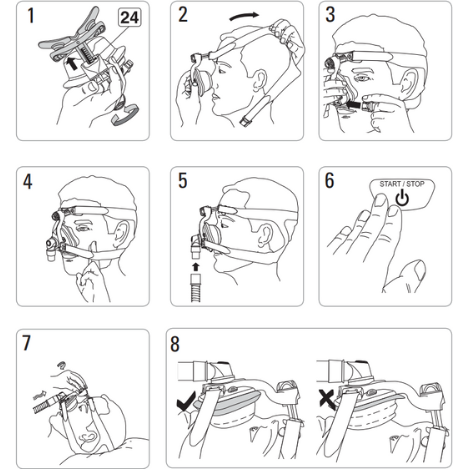
Fitting Your Mask:
Refer to the fitting diagrams in these instructions.
- Squeeze one of the headgear clips to release it from the mask frame.
- Place the mask cushion over your nose.
- Pull the headgear over your head. Make sure the lower straps pass below your ears, and the upper straps pass over your forehead.
- Connect the free headgear clip to the mask frame.
- Adjust the lower and then the upper straps of the headgear so the cushion sits loosely on your face. Do not tighten the headgear straps at this stage.
- The pads of the forehead support should lightly touch your forehead when the mask is in place. Adjust the forehead support by depressing its tab and moving it to one of the other slot positions
- Connect one end of the main air tubing to your CPAP or bilevel device and the other end to the swivel.
Note: The swivel, short air tubing, and mask elbow are supplied assembled. - Connect the mask elbow to the mask frame. To do this, firmly push the mask elbow onto the mask frame until it clicks into place. Check that you have connected the mask elbow correctly by rotating it. Be careful not to squeeze the sides of the elbow as it may release from the mask frame. If the mask elbow is fitted correctly, it should rotate freely and not separate from the mask frame.
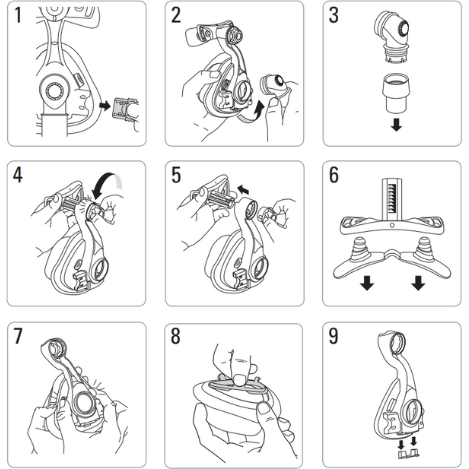
Disassembling Your Mask:
If the mask is connected to your device, disconnect the air tubing
from the short tube.
- Detach the mask elbow. To do this, squeeze the raised dots on the sides of the mask elbow while pulling it away from the mask frame.
- Disconnect and separate the main air tubing, short air tubing, mask elbow, and vent cover.
Notes: To prevent damage to the short air tubing, disconnect it by holding it at the cuff. The swivel does not need to be disconnected from the short air tubing. - Squeeze the headgear clips to release them from the mask frame. Unfasten the Velcro® straps and unthread the upper headgear straps through the slots of the forehead support.
- Remove the ports cap from the mask frame.
- Detach the cushion assembly from the mask frame. To do this, squeeze the two side latches on the cushion clip until they disengage from the mask frame. Then pull the mask cushion assembly out and away from the mask frame.
- Remove the cushion clip from the mask cushion. To do this, roll back one end of the ACTIVECELL and pull the cushion clip out.
- Depress the forehead support tab and move it past the top slot position. This allows you to remove the forehead support from the mask frame.Pull firmly at the base of the forehead pad plugs to release the forehead pads from the forehead support.
| Operating Therapy Pressure Range |
| 4 - 20 cm H²O |
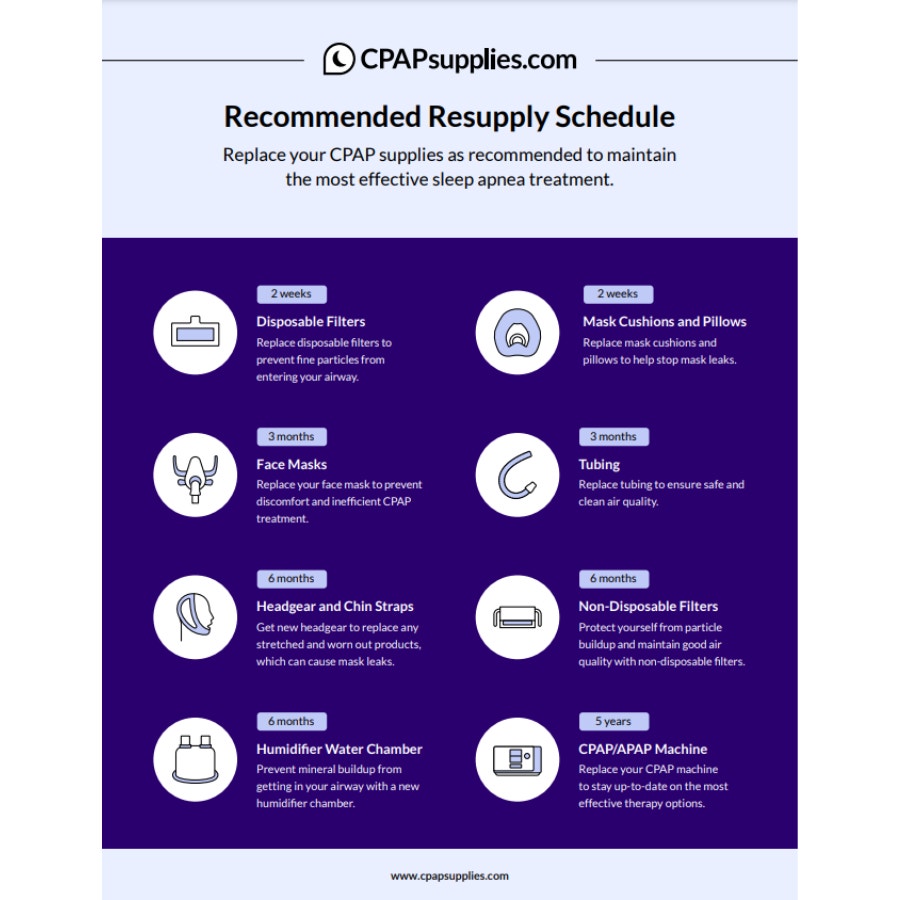
CPAPsupplies.com: CPAP Supplies Replacement Schedule
- CPAP Mask Frame Replacement Frequency: Resupply Every 3 Months
- CPAP Mask Cushions/Pillows Replacement Frequency: Resupply Every 2 Weeks
- CPAP Mask Headgear Replacement Frequency: Resupply Every 6 Months
CPAPsupplies.com: CPAP Supplies Replacement Schedule

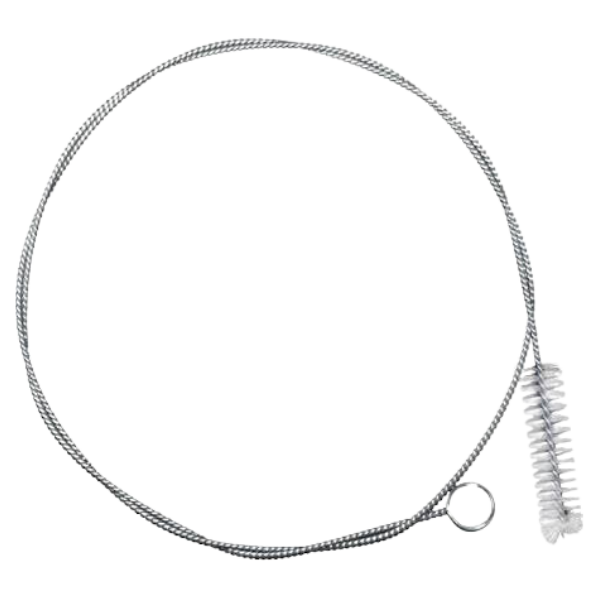
Cleaning Guide
Regularly cleaning your CPAP mask parts and components is crucial for avoiding the accumulation of bacteria, debris, oils, and other contaminants. This will help prevent the buildup of germs that may cause skin irritation and other unwanted side effects.
Before following the instructions below, first make sure your CPAP machine is unplugged from the power source, disconnect your mask and air tubing from your CPAP machine, and disassemble your mask components into 3 parts (nasal cushions, headgear, and frame):
| Part | Cleaning Frequency | Instructions |
|
Nasal Cushions |
Daily |
|
|
Mask Frame |
Weekly |
|
|
Headgear |
Weekly |
|
|
Chinstrap |
Weekly |
|
*Avoid using strong detergents or soaps, especially those that contain harsh chemicals, perfumes, dyes, moisturizers, or alcohol.
You can find more useful information regarding CPAP cleaning with this blog:


| Brand | Resmed |
|---|---|
| SKU | p_mirage_activa_cushion |
| Model | p_mirage_activa_cushion |
| HCPCS | A7034 |
| UPC | 00619498601950, 00619498601721, 00619498601738, 00619498601745 |
| Prescription Required | Yes |
| Weight | 1.00 lbs |
| Manufacturer's Warranty | 90-day limited manufacturer's warranty |
| FSA/HSA Eligible | Yes |
| Included | 60182, 60148, 60149, 60150 |
Compatible Products
Check items to add to the cart or


1 Item Added to Cart

Earn 0 Loyalty Reward Points from this purchase
